Buggy Mold & Cast
Buggy Models
2018

Buggies are vehicles that traverse the streets of Carnegie Mellon on weekends, driven by small, brave students. Buggy races culminate in April at Spring Carnival, where each team gives it their all to push and drive their buggies around the course the fastest. In honor of this tradition, I used my team's buggy model and altered it so I could 3D-print a keychain-sized buggy mold. I then used this master mold to make negative molds from which I cast more small buggies from resin.

Process
Ideation, Design, & Modeling,
I thought of the small buggy idea almost immediately when deliberating what I wanted to cast.
Design Process:
-
Edited the Solidworks model of team's buggy for this year, "Bumper"
-
Scaled the model down from 6 feet long to 4 inches long.
-
Removed features too small to cast from such a small mold.
-
Cut out the wheels and fairings from the base to have a flat surface
-
Adjusted feature dimensions to allow weep holes to have a clear path when pouring resin
-
Conducted analysis of wall thickness and moldability (parting line) as seen below
-
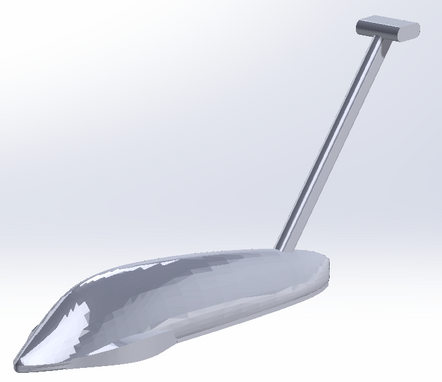
Combined features to create one solid part that could be used as an STL file


Final Design Rendering

Master Fabrication
The finished part was printed on a FormLabs Form 2 SLA 3D-printer. After being printed, the part needed to be placed in isopropyl alcohol baths and then heat cured. I sanded off the rough edges left by the support material.

Mold and Cast
Molding
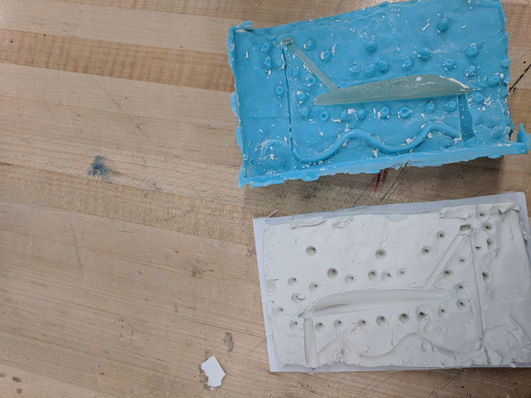
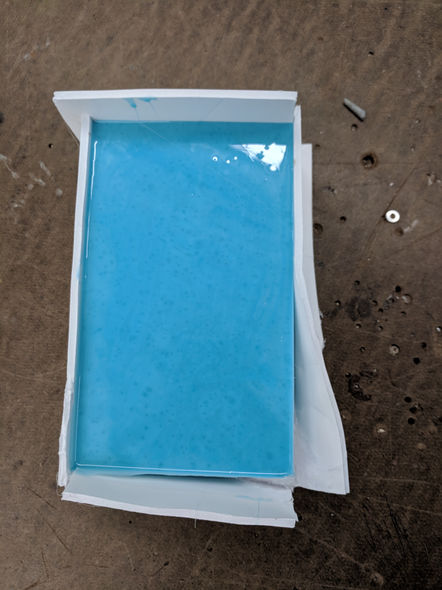
The first step in molding was to make a clay base for the mold, which I added keys to for tighter alignment when the final molds were put together. That base was then surrounded by a foam core box, to be filled by silicone. Note the straws present to allow for successful weep and pouring holes later on.

I mixed the silicone formula and poured it into the box. Once the first silicone mold solidified, this process was repeated for the other half of the mold.
Note that I forgot to apply mold release before pouring the second batch of silicone, so I had to cut the edges of the mold to pry them apart. Also note that I dropped the buggy mold and the push bar broke off, but this seemingly didn't affect the molding process.

Casting
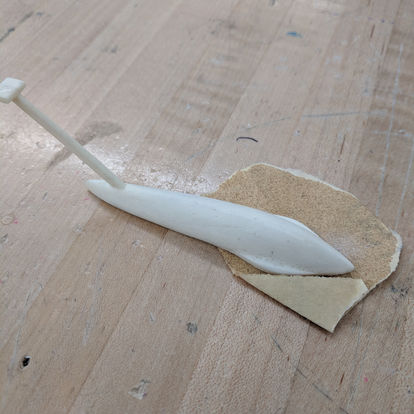
I compressed the mold with rubber bands and wooden sticks to apply even pressure. I then mixed resin and poured it into the mold. After approximately four hours, the resin hardened, and I removed the part from the mold. This process was repeated three times.
On the last attempt, I used a vacuum chamber to degas the resin, which led to a slightly better product finish. The final product was sanded to a smooth finish.


